Test your designs
Tellus includes a default User Interface that you can use to test the designs of your transactions and assets.
It is dynamically built upon your designs and can be used by anybody, from developers to business people.
The Testing UI (Tellus Cliente Interface) URL can be found by going to Services in Forma, selecting the Instance you'd like to access and click Root Address.
Transaction Execution with the Tellus Client Interface:
To execute a transaction in Tellus from the Testing Client Interface, first of all, you must create an Asset. That Asset will be later associated with a Transaction.
The transaction will be based on the Transaction Template created in the previous part of this guide, as well the Asset will be based on the Asset Template we previously created here.
Assets
On the Client, click the Assets tab, then click on the Plus bottom in the upper right corner and select the Asset Template created in step 4.

Fill the blanks with the information of the real-life Asset. Once you have filled the information, click the Save button.
You have now created an asset on the Blockchain.
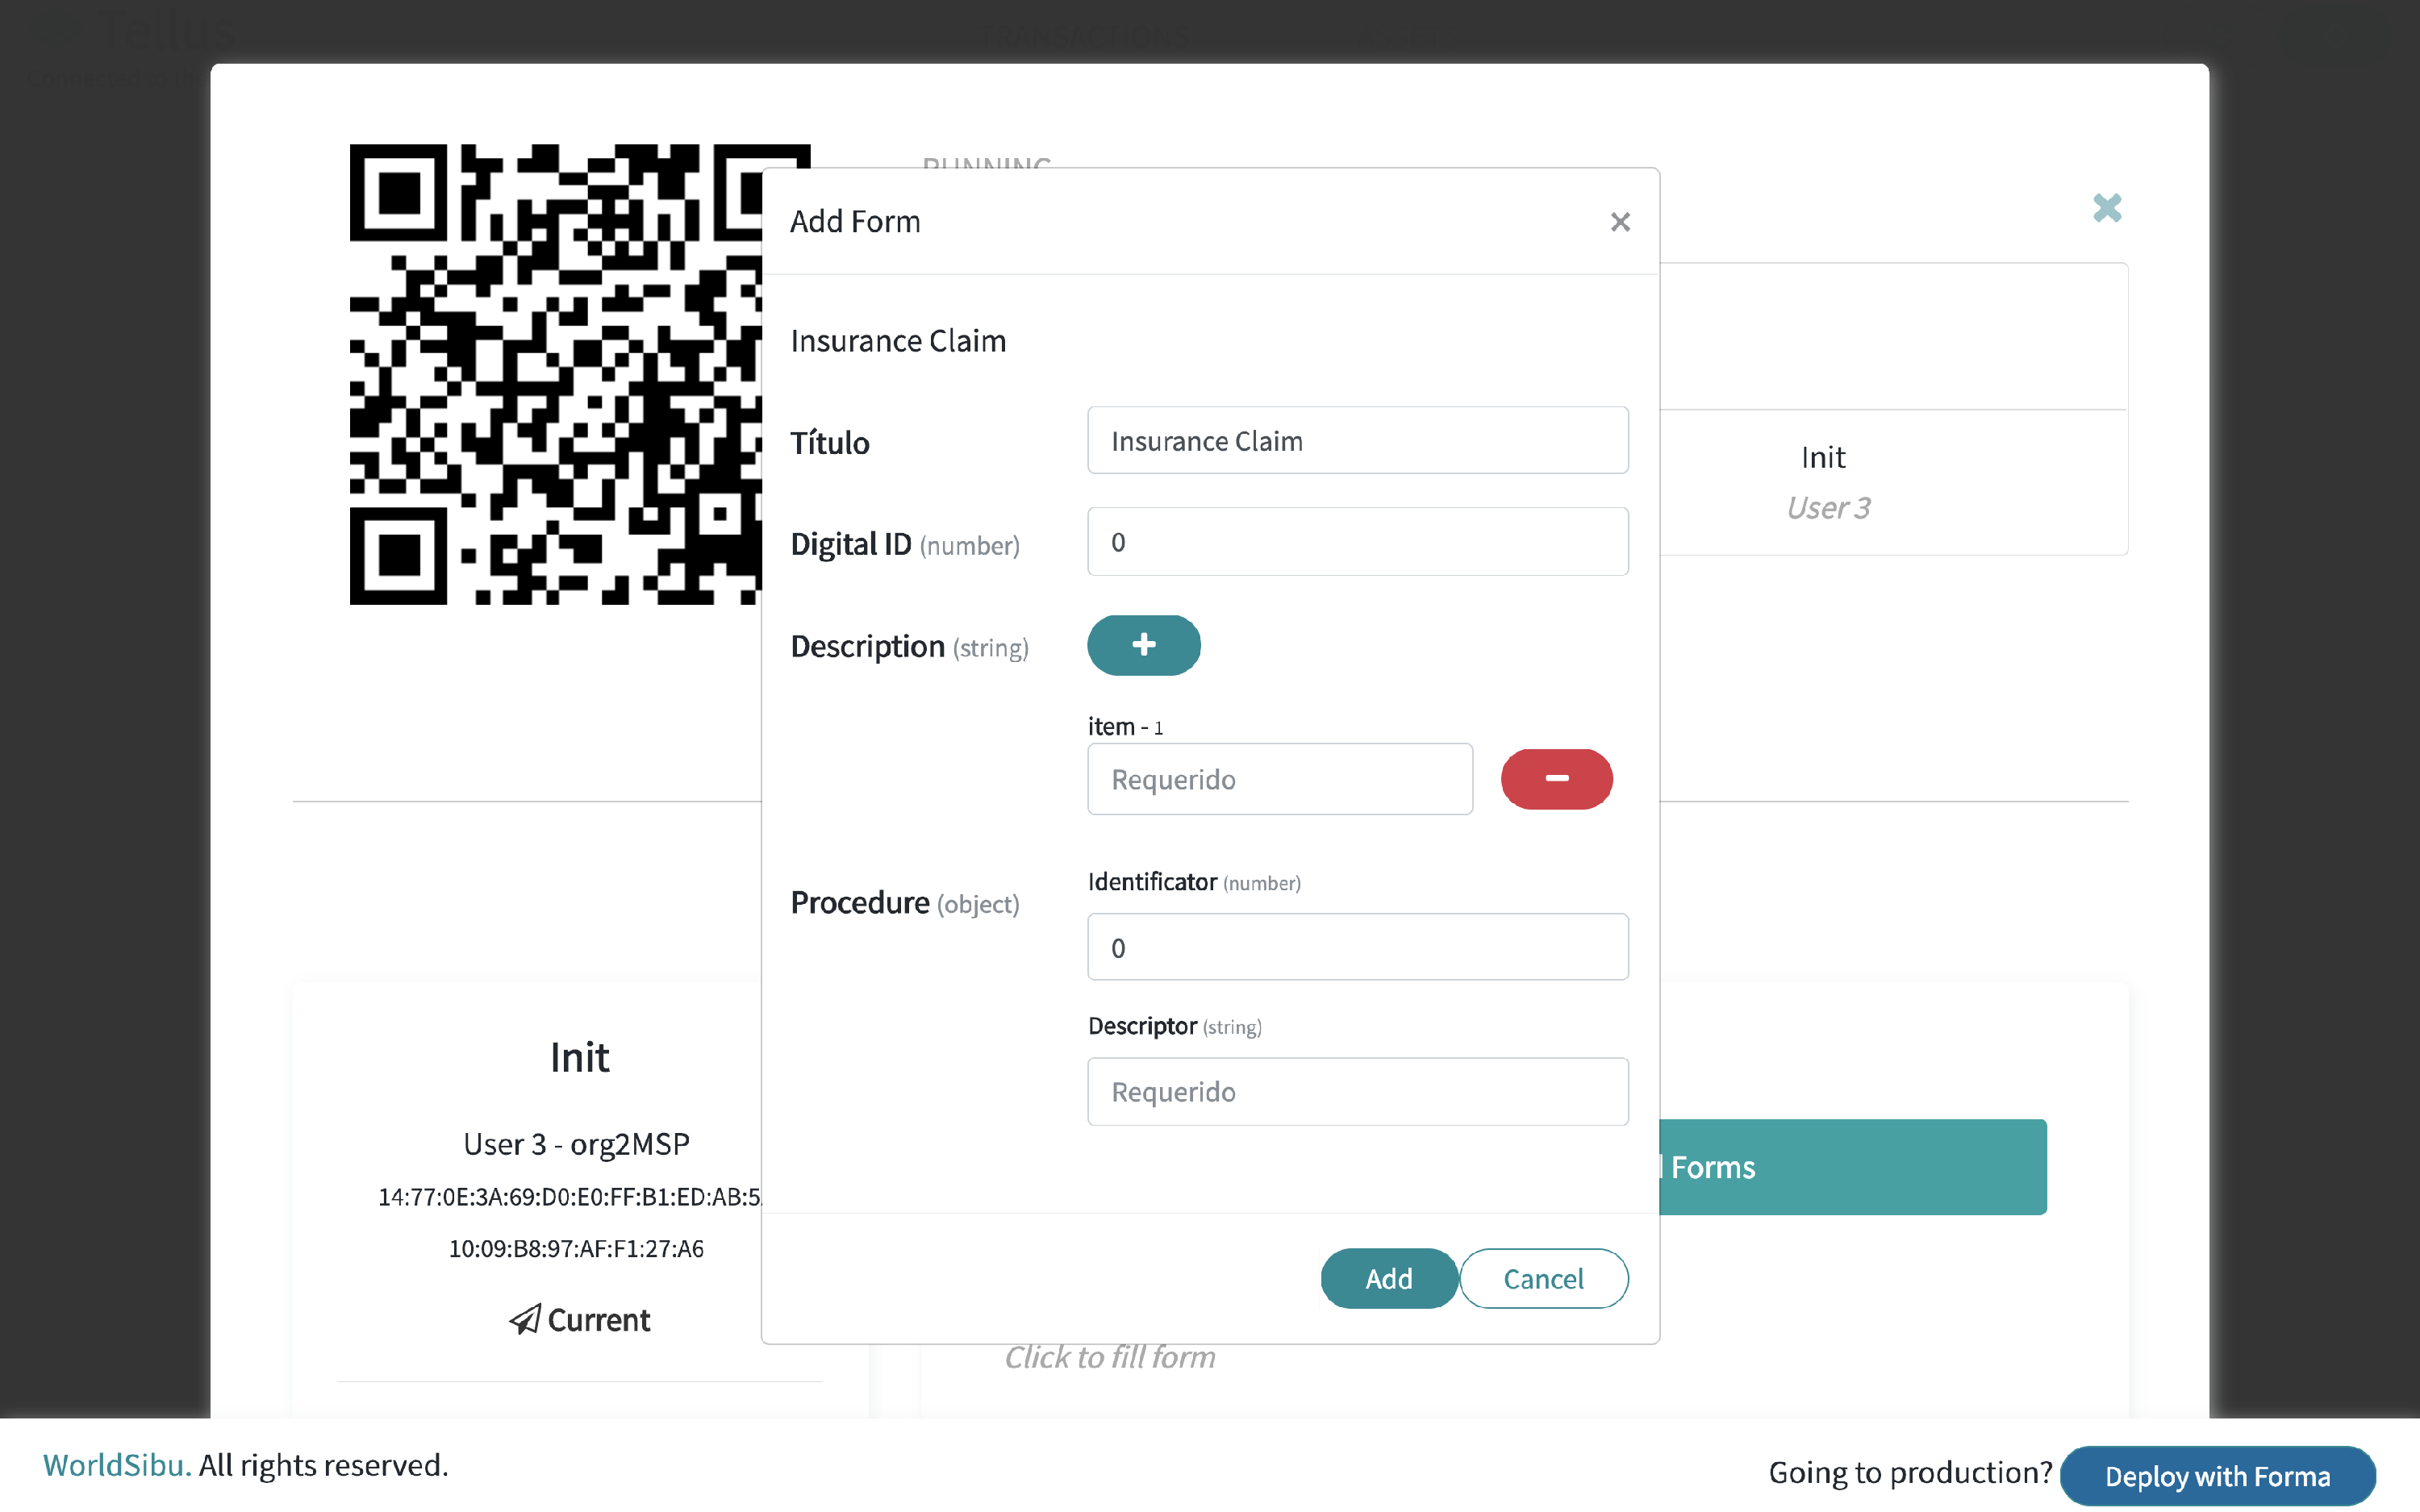
Transactions
Click on the Transactions tab and then click on the Plus bottom
Finally, click on the Add button
Running Transactions
Here you can access your running transactions, approved/finished ones, and rejected.
Click on the transaction name "Insurance claim #893" to see its details.
In the image above we have the transaction created.
We can see the stages, the participants associated with each stage and below the assets associated with the transaction.
The stages can only be marked, approved or rejected, by the participant with the correct digital certificate. Also, the self-generated forms can only be included by the correct user.
 The button "Mark" on each transaction stage allows you to "complete" that stage and unlock the next one.
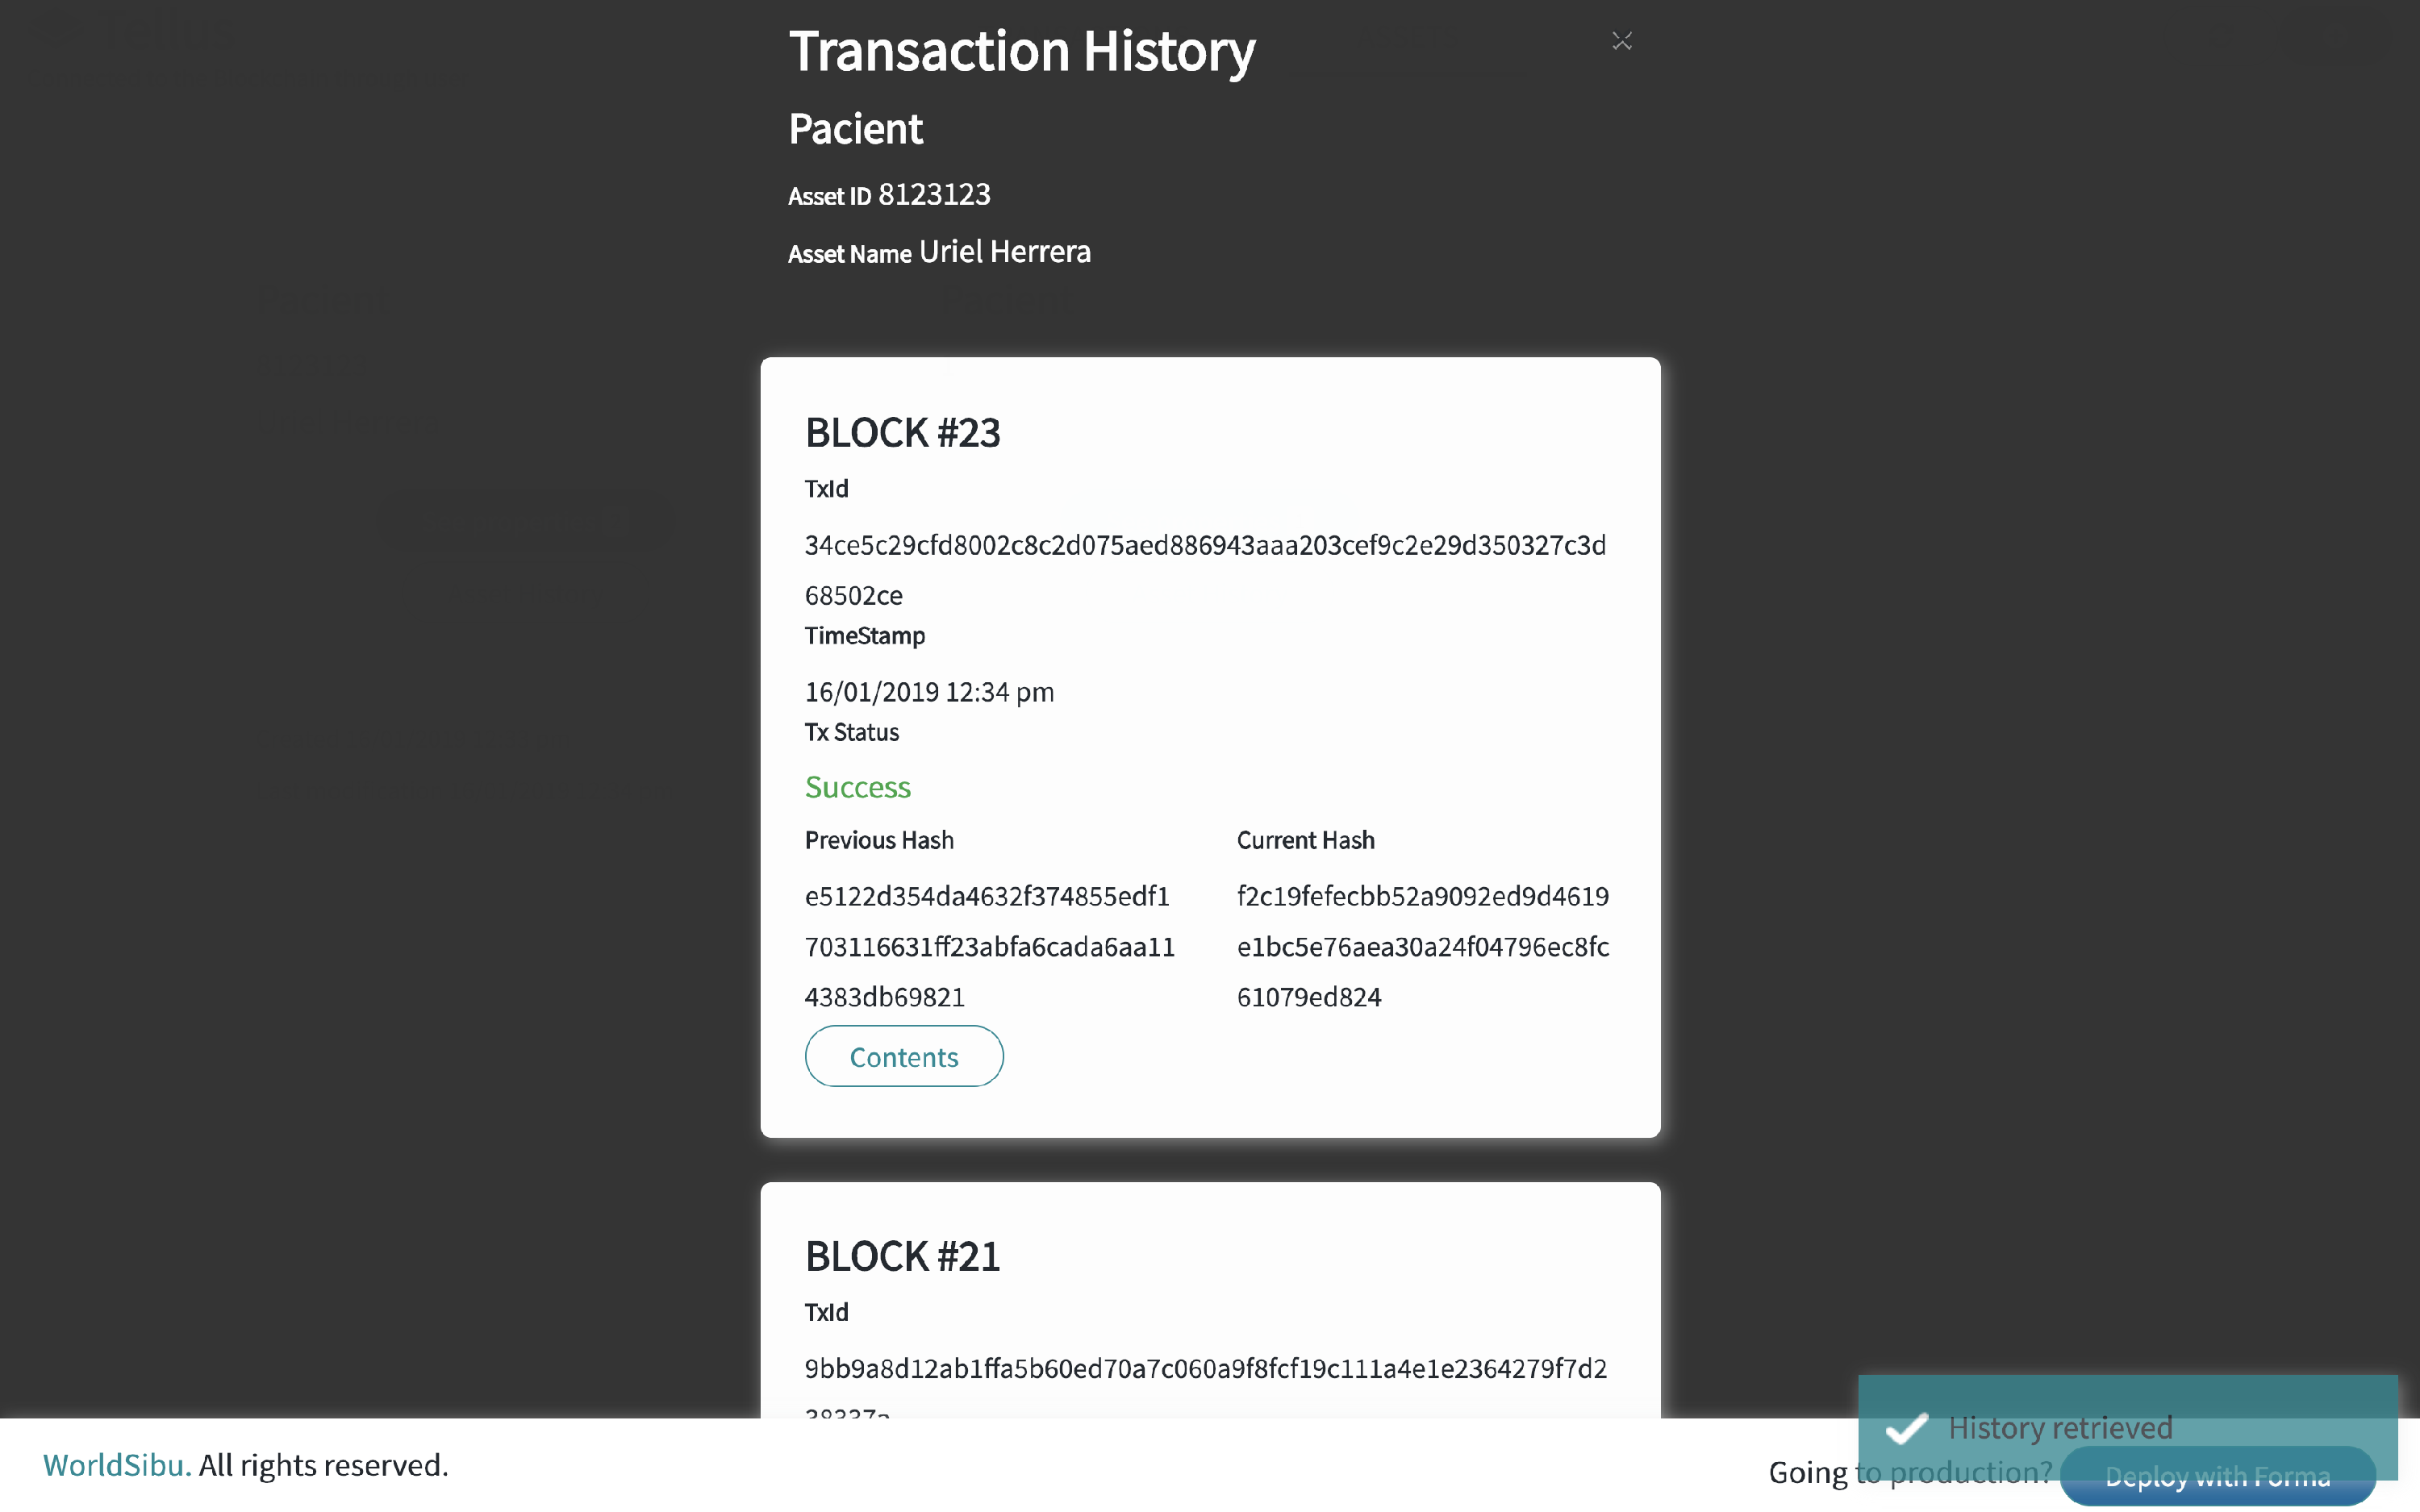
History
Every Asset and Transaction includes the historical list of changes.
For transactions, open one specific transaction and click on the Transaction History button at the bottom. If you would like to see more details of that specific change, click on Transaction details to see a JSON version of the byte contents.

For Assets follow the same steps.